Last updated November 18, 2026








Free written scope consultation - allowances, timeline, and change-order rules on paper before a single trade is scheduled
Bathroom Remodeling Troubleshooting: Common Problems and How to Fix Them
Tile grout that cracks within six months of a remodel usually isn’t a grout problem. It’s almost always substrate deflection underneath the tile – the wood floor or wall assembly flexing just enough to shear the grout lines – which means regrouting is a cosmetic patch over a structural issue that will return. We’ve walked into Irvine homes where the grout had been “repaired” twice before anyone pulled a tile and found the real cause. This guide teaches you to read the early moisture signals, separate a materials defect from an installation defect, and know exactly which corrective steps come next, before a small leak turns into framing damage.
Quick Answer
Most bathroom remodel problems that appear after completion trace back to three root causes: waterproofing failures behind tile, substrate movement under the floor, and ventilation that lets moisture build up where it can’t escape. Waterproofing problems announce themselves in stages – grout discoloration first, soft drywall later, mold at baseboards or the ceiling below last. Your written warranty is the tool that fixes a real installation defect; identifying the failure stage early and notifying the contractor in writing before the warranty window closes is what protects you.
Styles & brands we work with
- Kitchen remodeling
- Bathroom remodeling
- Home additions & ADU
- Roofing
- Windows & doors
- Driveway & pavers
- Fence
Table of Contents
- The Three Stages of a Shower Waterproofing Failure
- Materials Defect, Installation Defect, or Normal Wear: How to Tell
- What Your Contractor’s Written Warranty Should Cover
- When a Ventilation Failure Looks Like a Waterproofing Failure
- The Remediation Sequence Once Water Has Penetrated
- Why Irvine Bathrooms Fail the Way They Do
- Common Mistakes to Avoid
- Frequently Asked Questions
The Three Stages of a Shower Waterproofing Failure
Water behind tile moves slowly and shows itself in a predictable order. In our experience, homeowners who recognize the early stage save thousands compared to those who call when the ceiling below has already stained. Here’s the timeline we’ve documented across Irvine bathrooms.
Early stage: grout discoloration. Grout that turns permanently dark, stays wet hours after a shower, or shows a chalky white haze (efflorescence, mineral salts pushed out by moisture) is the first signal. It doesn’t prove a failure on its own – a badly sealed shower floor can look the same – but when discoloration is confined to one area and won’t dry, moisture is sitting behind the tile.
Middle stage: soft spots in adjacent drywall. Press the base of the wall on the far side of the shower – a bedroom or hallway wall – and feel for give. A water stain that appears low on an adjoining wall or a baseboard that lifts away from the drywall means water has traveled through the shower pan or wall assembly. This is the stage where the failure is confirmed and the repair is still contained.
Late stage: mold at the baseboard or ceiling below. Mold at the baseboard of a bathroom’s outside wall, or a brown ring on the ceiling of the room underneath, means the pan or the waterproofing membrane has been compromised long enough for saturation to spread. At this point you’re no longer fixing a shower – you’re evaluating structural damage. Irvine homes with second-floor master baths are especially prone to the ceiling-below signal, since the failure announces itself on the first-floor ceiling rather than the floor you’re standing on.
- Early: grout discoloration, chalky haze, damp smell, no visible damage elsewhere.
- Middle: soft drywall, water stain on an adjacent wall, lifting baseboard, grout that crumbles when pressed.
- Late: mold at baseboard or ceiling below, bowed drywall, musty odor throughout the floor, visible sagging.
Materials Defect, Installation Defect, or Normal Wear: How to Tell
This is the classification that determines who pays. Getting it right matters, because a contractor’s warranty covers an installation defect, while a materials defect gets handled through the product manufacturer – and normal wear is on you. Here’s how to build a case in each category.
Materials defect. Tile that arrived badly milled (lapping edges you can feel with a fingernail), grout that never hardened to spec, or a fixture cartridge that failed within weeks – these trace back to the product. The tell: the failure appears uniform across the batch or matches a known manufacturer recall. Document it with close-up photos of the affected tile, keep the original packaging or invoice if you have it, and note the date of installation. Manufacturers sometimes honor claims years out; they want the same documentation you should already have on hand.
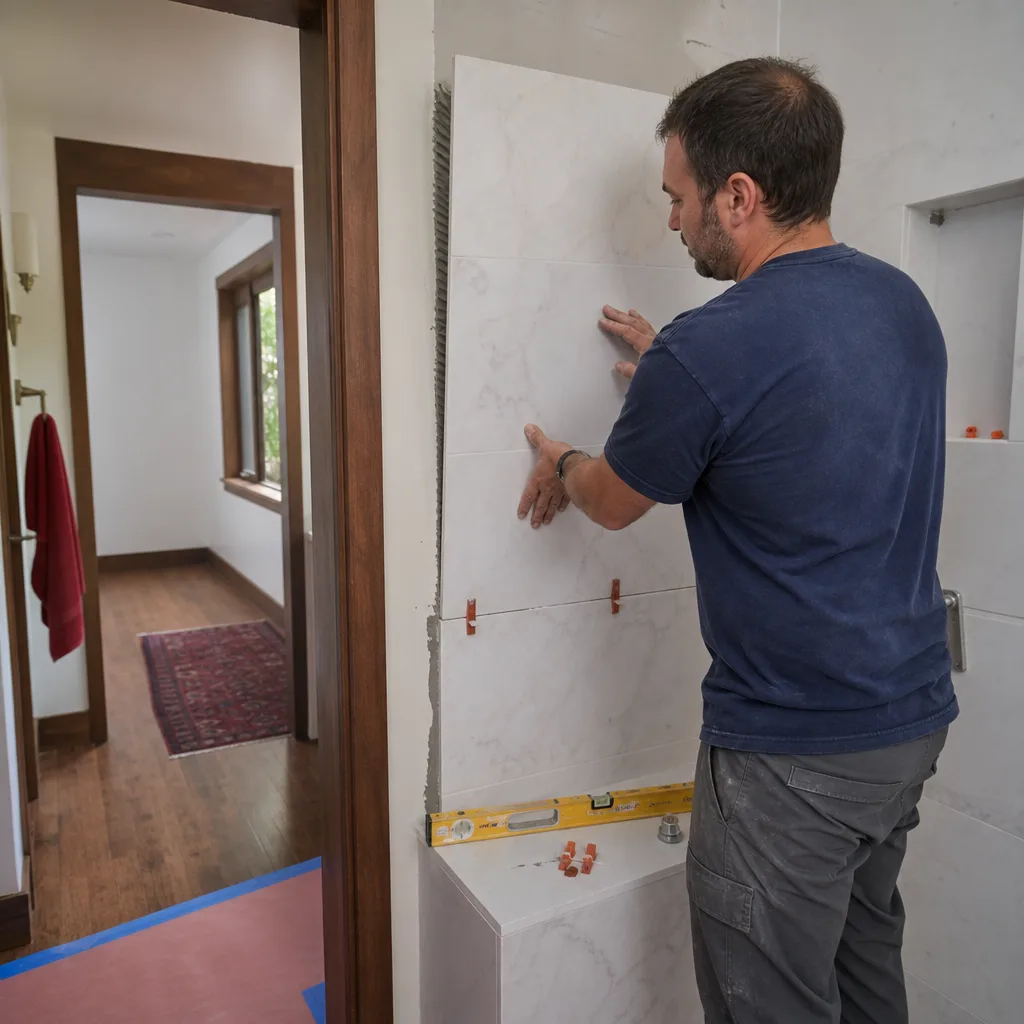
Installation defect. Cracked grout along a single continuous line (often over a seam between two sheets of cement board), tile that sounds hollow when tapped, a shower that puddles against the threshold instead of draining toward the drain, or a tub-to-wall seam that opened within a season. These signal a workmanship problem: substrate not rigid enough, no uncoupling layer, or a pan pitched wrong. Take a photo of the crack pattern and a short video tapping across the tile – the hollow sound is the evidence.
Normal wear. Sealer that stopped sealing after a couple of years with heavy use, caulk at the tub seam that needs replacing every few years, a finish that dulled. Normal wear is maintenance, not a defect, and no warranty covers it. Being clear about which category you’re in with your contractor keeps the repair moving instead of turning into an argument.
What Your Contractor’s Written Warranty Should Cover
A bathroom warranty is only as good as its specificity. A written guarantee should name what’s covered, how long it runs, and exactly what happens if something fails – not a verbal “we stand behind our work.” Here’s the standard we hold ourselves to, and the checklist to apply to any contractor’s paperwork you’re handed.
For bathroom work, a real warranty covers labor and installation defects for at least twelve months – the window in which most waterproofing failures surface. It should spell out that a shower that fails to drain, a pan that leaks, or grout that cracks along a workmanship seam is repaired at no charge, including the return visit. It should also define the notice-and-cure process: how you report the problem, how quickly the contractor must respond, and what constitutes a cure.
Under Bathroom Remodeling in Irvine, every Penhallow project carries the 365-Day Done Right Promise: if the work fails inside the guarantee period, we come back and fix it at no charge, covered in writing. The written price before work starts and the written guarantee on the repair are both part of the same document, so there’s no ambiguity about who is responsible.
The notice-and-cure steps to trigger a warranty before it expires:
- Report the issue in writing – email or a dated text – with photos of the failure and the date you first noticed it. A phone call alone is hard to prove later.
- Give the contractor a reasonable window to inspect. Most written guarantees specify 7 to 14 days for a response.
- Let the contractor propose the fix in writing before you authorize anyone else to touch the tile. Removing tile yourself can cancel the warranty.
- Keep copies of every message until the repair is signed off and you’ve confirmed the fix held for at least a full season of use.
When a Ventilation Failure Looks Like a Waterproofing Failure
Not every moisture problem in a bathroom is a construction defect – and this is where a lot of Irvine homeowners get talked into a re-tile they didn’t need. An undersized or badly ducted exhaust fan produces the same symptoms as a failed shower membrane: peeling paint above the shower, musty smells, condensation on the mirror ten minutes after a shower, and eventual mold at the ceiling line. The failure is in the air, not the walls.
The most common installation mistake is ducting a fan into the attic instead of through the roof or a wall to the exterior. Warm, moist bathroom air dumps into the attic space, condenses on the cold side of the roof deck, and eventually drips down – sometimes onto the ceiling of a bathroom on the floor below, which then gets blamed on the shower. We’ve seen this pattern in Irvine homes more than once, and the fix is refitting the duct to terminate outside, not opening a wall.
Two other tells: a fan rated well below the bathroom’s volume (a bathroom wants to clear its air around 8 times an hour), and a fan that runs but has no measurable suction at the grille. A tissue held to the grille should pull tight and stay. If it flaps or doesn’t stick, the fan or the duct is the problem. Test this before you accept any quote for re-waterproofing – replacing a $200 fan is a very different job from rebuilding a shower pan.
The Remediation Sequence Once Water Has Penetrated
If you’re past the early stage and water has clearly gone into the assembly, the order of operations matters as much as the repair itself. Moving fast in the wrong sequence destroys the evidence an adjuster needs and can void a claim. Follow this sequence.
- Document before you touch anything. Take wide photos of the room and ceiling, close-ups of every stain and mold patch, and a dated note of when you first noticed it. Don’t repaint, don’t caulk over, don’t pull the affected tile – disturb a stain and you lose the timeline.
- Call your contractor first. If the bathroom was remodeled by a contractor still within a warranty window, that’s the first call, and the written notice-and-cure steps from the section above apply. A genuine installation defect is fixed at the contractor’s expense.
- Call your insurer or a public adjuster second – only if the damage is significant. A public adjuster represents you, not the insurance company, and is worth engaging when the damage runs into the walls or ceiling. Send them your dated photo record and leave the damaged area in place until they’ve inspected it.
- Make it safe, don’t make it pretty. Stop using the shower, run the exhaust fan, and dry the area with fans if water is standing. Airflow slows secondary mold growth without hiding the evidence.
- Re-test after the repair. Once the fix is in, run the shower and check the ceiling below and the adjacent walls for a week. A repair that’s still leaking shows the same signals within days.
This is the sequence we walk Irvine homeowners through whenever a post-remodel leak surfaces, because the wrong first move – usually a cosmetic regrout over a wet pan – is what turns a contained repair into a structural one.
Why Irvine Bathrooms Fail the Way They Do
Irvine’s climate gives its bathrooms a specific set of pressures. Our summers are hot and dry and our winters are mild and damp, so the same shower sees swings in indoor humidity that stress grout and caulk more than a steady climate would. High water pressure is another factor – several Irvine neighborhoods run on the higher side, which speeds up cartridge wear and makes a faucet drip that would be a trickle elsewhere a steady stream here. And the most common construction pattern in much of Irvine is the second-floor master bath over a first-floor ceiling, which means a slow pan leak shows up as a stain on the ceiling of a room you use every day – sometimes the only reason a homeowner catches it early at all.
Irvine’s permitting process compounds the timeline. A shower pan rebuild or tile replacement is a permitted job in the city, and unpermitted plumbing work can complicate a resale inspection later. When we take on a bathroom in Irvine under our role as a General Contractor in Irvine, we pull the permits and pass the inspections – and the written price you get on day one is the number on the invoice, not a range that drifts once the tile is off.
If your remodel touched the kitchen as well, the same substrate-and-warranty thinking applies there too – our Kitchen Remodeling in Irvine guide covers the kitchen-side failure signs.
Common Mistakes to Avoid
- Regrouting over a wet pan. Sealing moisture behind fresh grout is the single quickest way to turn a contained repair into a mold problem – and it can cancel your warranty coverage for the original failure.
- Repainting a water stain before it’s diagnosed. The stain is your evidence for the contractor and the adjuster. Once it’s covered, the timeline is gone and the diagnosis gets harder.
- Assuming the fan is fine because it hums. Test suction with a tissue before you accept a re-waterproofing quote. In Irvine, an attic-dumped duct can cause a “shower leak” that isn’t one.
- Accepting a verbal “we’ll fix it.” A notice-and-cure only works in writing. Get the report, the diagnosis, and the repair plan in an email with dates.
- Hiring the cheapest bid for a warranty repair. A pan rebuild has a right way – substrate, uncoupling, pan pitch, a tested membrane – and a wrong way that fails again in six months. Price the method, not just the price.
- Waiting past the warranty window to report. Most guarantees run twelve months from completion. A failure that shows up at month fifteen is your problem, not the contractor’s – so report the first signal, not the finished failure.
- Letting a third party touch the tile before the contractor has inspected. Even a well-intentioned handyman can void the coverage for the original work.
See the difference
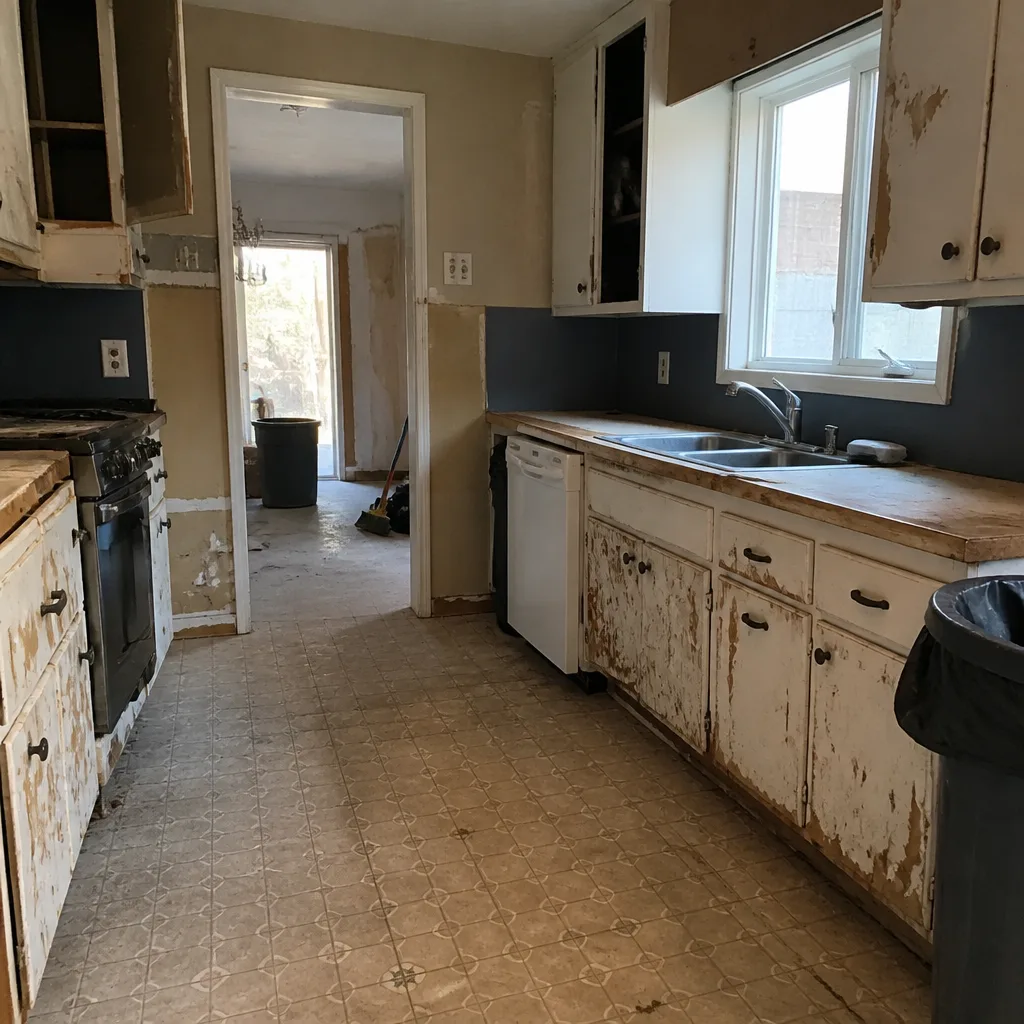 Before
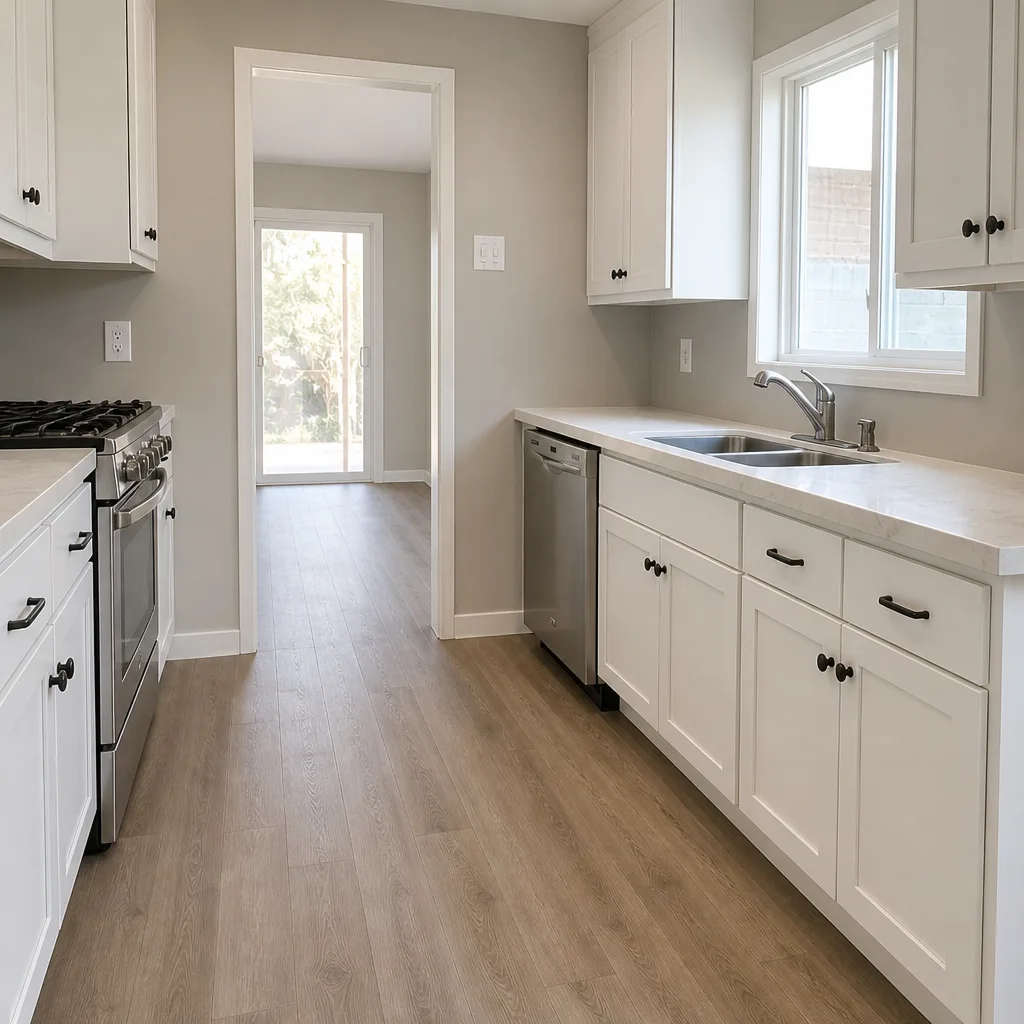 After
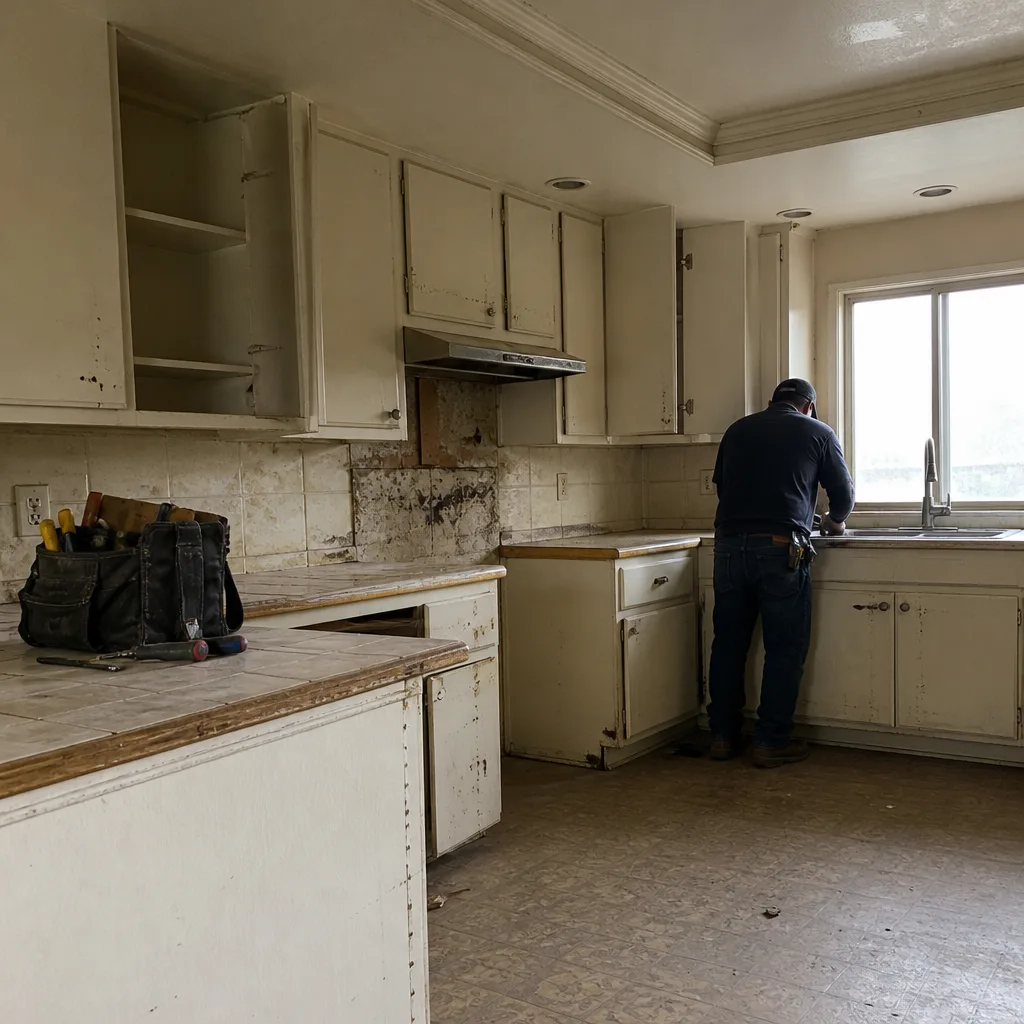 Before
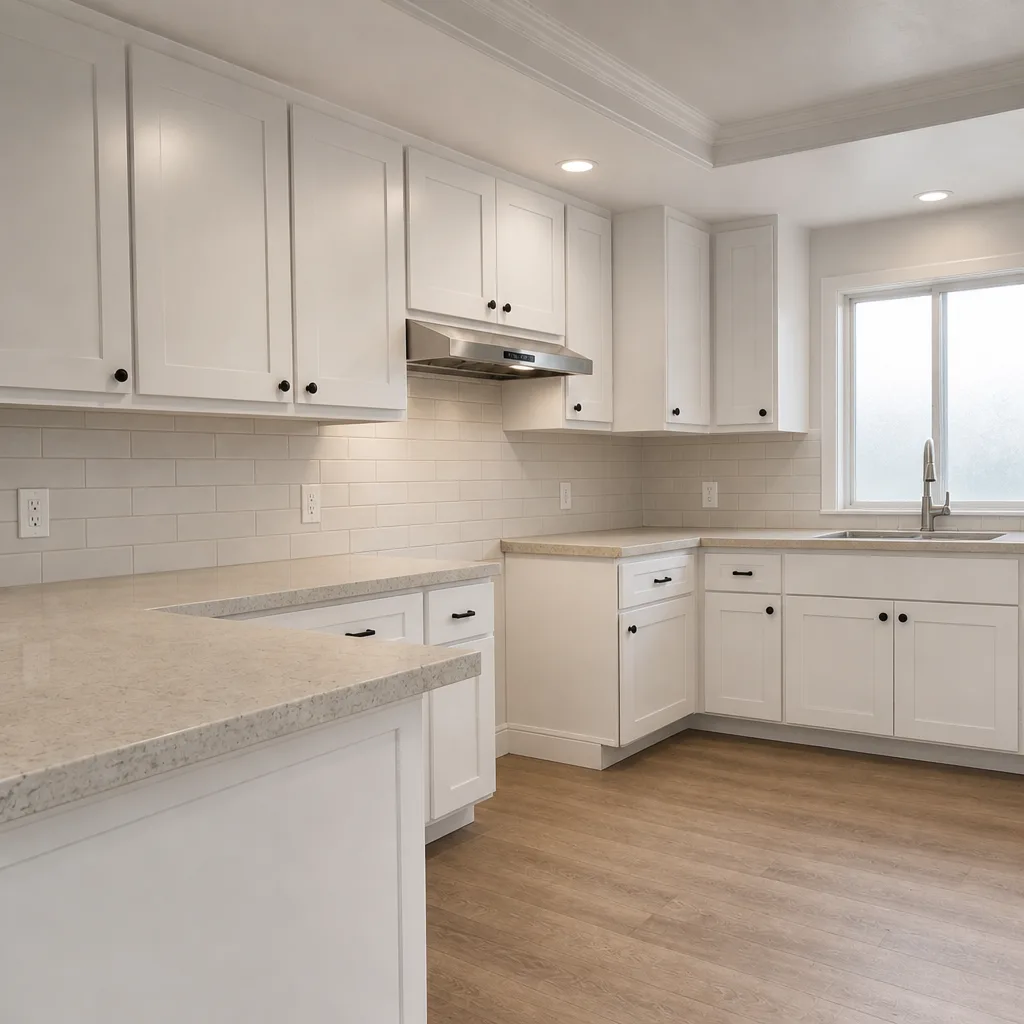 After
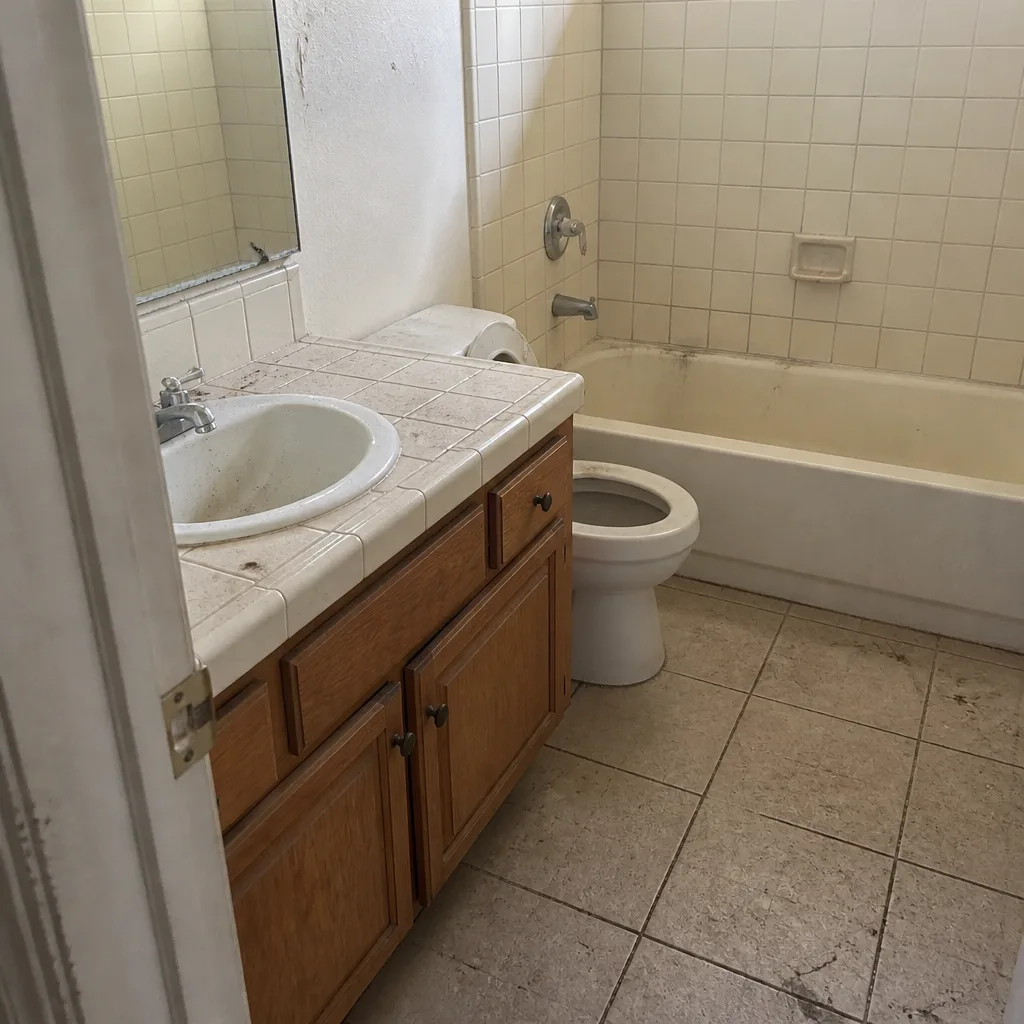 Before
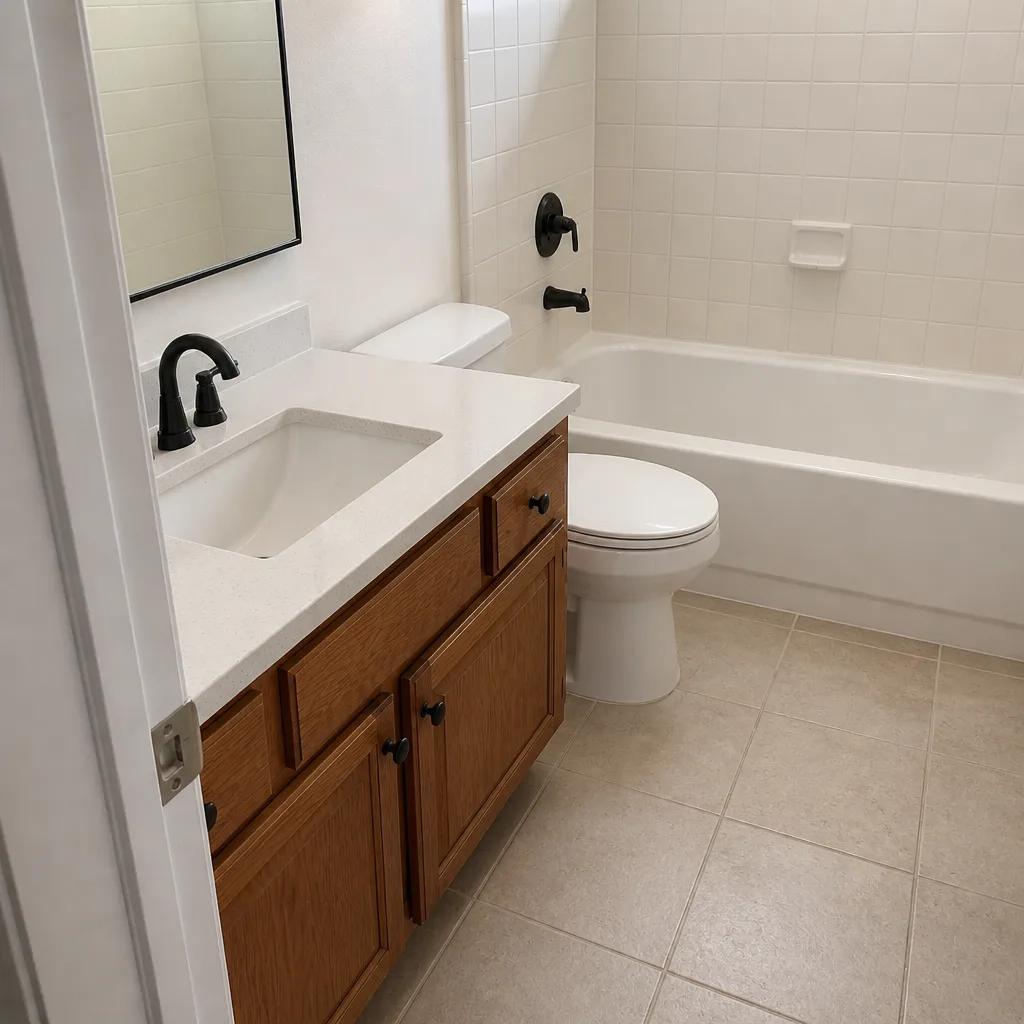 After
When to Call a Professional
Call a professional when the failure moves past the early stage: soft drywall, a stain on the ceiling below, mold at the baseboard, or grout that crumbles under a finger. Those signals mean the waterproofing has failed and the fix is a rebuild, not a patch. Call immediately if water is actively dripping, if the shower won’t drain, or if a repair you already paid for fails inside its guarantee window – that’s the free return visit, and no service call fee should apply. And call before you commit to any re-tile quote you didn’t ask for: a ventilation diagnosis is cheap, and it’s the most frequent misdiagnosis we see. Penhallow Remodeling Irvine offers free estimates in Irvine – call (888) 704-4104. The phone is answered by a live person 24/7, and you’ll get a written price before any work starts.
Frequently Asked Questions
A shower pan or waterproofing repair in Irvine typically runs $1,200 to $4,500 depending on whether tile must be removed and the pan rebuilt – a leak that’s only reached the caulk line is far cheaper than one that saturated the framing. Get a written quote with the diagnosis spelled out before you authorize anything. Call (888) 704-4104 for an exact quote – estimates are free.
Often yes. A crack that follows one continuous line – usually over a substrate seam – is a workmanship problem, while isolated hairline cracks scattered across the floor are more likely normal wear. A hollow sound when you tap the tile confirms movement underneath. If it’s within the first twelve months, report it in writing and let the contractor inspect before anyone touches it.
It should, if the leak traces to installation. A written warranty covering labor and installation for at least twelve months is standard for bathroom work, and the 365-Day Done Right Promise covers exactly this: if the work fails inside the guarantee period, we come back and fix it at no charge. Report the failure in writing with photos and a date, and keep the message until the repair is signed off.
Test the fan before you blame the shower. Hold a tissue to the grille – if it doesn’t pull tight and stay, the fan or its duct is failing. Peeling paint above the shower, a mirror that fogs fast, and a musty smell with no visible grout damage point to ventilation. The most common cause in Irvine is a fan ducted into the attic rather than to the exterior.
Document it and don’t touch it. Take dated photos of the ceiling and the bathroom, then call the contractor who did the work if any warranty is active. If the damage is significant, contact a public adjuster before filing an insurance claim – they represent you, and the photo record you kept is the evidence they need. Don’t repaint or caulk over the stain.
A properly built shower should be problem-free for many years; the failures we see surface inside the first twelve months because waterproofing issues show up fast once the shower is in daily use. If a problem appears inside the first year, it’s very likely a workmanship or installation issue and should be covered. If it appears after several years, classify it as materials or normal wear first. Either way, call us for a free look – (888) 704-4104.
The Bottom Line
The lesson of every bathroom failure we’ve opened up is the same: catch it at the early stage and document it before you touch anything. Grout discoloration is your first signal, soft drywall confirms it, and mold at the baseboard means it’s gone structural. Classify the failure – materials, installation, or normal wear – because that tells you who pays, and report it in writing so a real warranty has something to act on. Check your exhaust fan before you accept a re-waterproofing quote. And when the job does need rebuilding, insist on a written price before work starts and a written guarantee after – the two things that make a bathroom repair worth doing once. If you need that diagnosis in Irvine, our team is here.
Call (888) 704-4104 for a free estimate. A live person answers around the clock, background-checked and uniformed technicians handle the work, and every project carries the 365-Day Done Right Promise. Start with the Penhallow Remodeling Irvine home page to see how we work, and we’ll put the price and the guarantee in writing before a single tile is pulled.
Written by the team at Penhallow Remodeling Irvine.